Updated for MacOS Ventura and Virtualbox 7
Installing Ubuntu in VirtualBox
Download Ubuntu. I used 22.04
Download VirtualBox.
Install VirtualBox
Run the un-attended installer
Make the Ubuntu Virtual machine
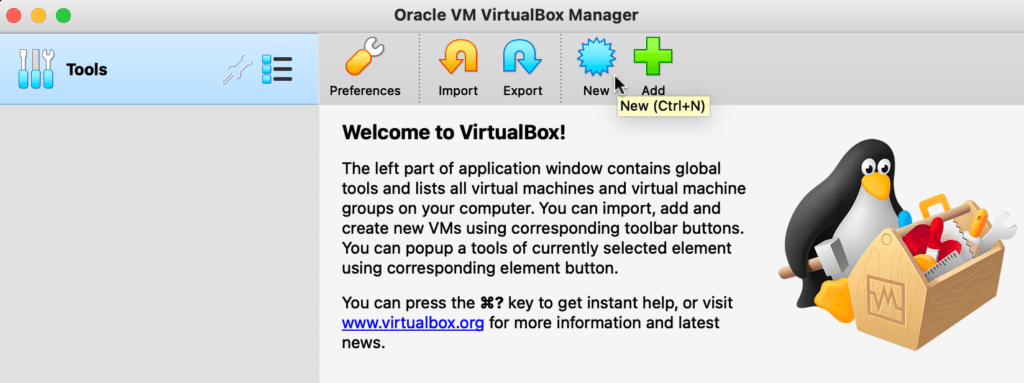
Start VirtualBox and Click new

Choose a name like Ubuntu
and choose the ubuntu iso image you downloaded

Unattended Guest OS install setup

Choose your Username and password.
Tick Guest Additions
Memory and processors
Choose memory size and how many CPUs. I used the minimum requirement for ubuntu 22.04:
4096 MB and 2 processors

Virtual Hard disk
Choose Hard disk size. I used the minimum requirement for ubuntu 22.04:
25 GB

Installation is finished
Change the language
When I installed unattended Ubuntu I had to change the language to get terminal to run. Changing it to English (united kingdom) works. You can change it back to English (US) after a restart
Click on the icons in the upper right corner and choose settings

Choose Region and language
and Change language and restart.

Change USB settings on the Ubuntu virtual machine
Ubuntu – settings:
Enable
Ports – USB – USB 3 (xHCI) Controller

Running terminal
Run terminal
Click on 9 dots in the bottom left corner

type terminal and click on the terminal icon

Adding a user to the sudoer list
If using a custom user name you might get an error saying that the user is not in the sudoer list. To fix this you can add the user to the sudoer list.
Login as root with the password you set. Then add your user to the sudoer list and reboot
su -l
usermod -aG sudo theusernameyouused
reboot
Updating Ubuntu
sudo apt update
sudo apt upgrade
Formatting a hard drive with gparted
Use Virtualbox – Devices – USB and enable the hard drive.

Note:
When using a USB-C (3.1) hard drive on a Macbook Pro, I had to connect it to a Belkin USB-C Multiport adapter (#ad) with a USB 3 port to get it working. Ubuntu in Parallels does not have the same problem.
In terminal. Install gparted.
sudo apt-get install gparted
Run GParted and format hard drives like I do in this post
sudo gparted
Compile and install asdcplib tools
https://github.com/cinecert/asdcplib
https://cinecert.com/opensource/
sudo apt update
sudo apt upgrade
sudo apt install build-essential
sudo apt install git
sudo apt install libssl-dev
sudo apt install cmake
git clone https://github.com/cinecert/asdcplib.git
cd asdcplib
mkdir build
cd build
cmake ..
make
sudo make install
Test the compiled tools
Run kmuuidgen to generate a UUID
kmuuidgen

Running asdcp-unwrap to extract the wav files from a mxf sound file
asdcp-unwrap sound.mxf
Running Subtitle Edit in ubuntu.
You can run portable Subtitle Edit in Ubuntu using mono. It runs smoother in Windows in parallels, but running it in Ubuntu in VirtualBox is free.
For more info see the help section on the Subtitle edit web page here.
Install mono, libmpv-dev, and these other packages first:
sudo apt update
sudo apt upgrade
sudo apt install mono-complete
sudo apt install libhunspell-dev
sudo apt install libmpv-dev
sudo apt install tesseract-ocr
sudo apt install vlc
sudo apt install ffmpeg
Download subtitle edit portable from the Subtitle Edit web page and uncompress the zip file.
Run subtitle edit with the command
mono SubtitleEdit.exe

Thanks for all the info. If I purchase a pre-formatted CRU drive EXT3 per ISDCF specifications, will I be able to copy the DCPomatic created files from my Mac hard drive to it using Paragon ExtFS?
Yes.
Thank you.
Hi.
The drive will not mount in Mac OS with extfs innstalled if the drive is not cleanly unmounted.
You need to analyze and maybe do a repair on the partition in disk utility to be able to mount it.
Linux will mount most drives.